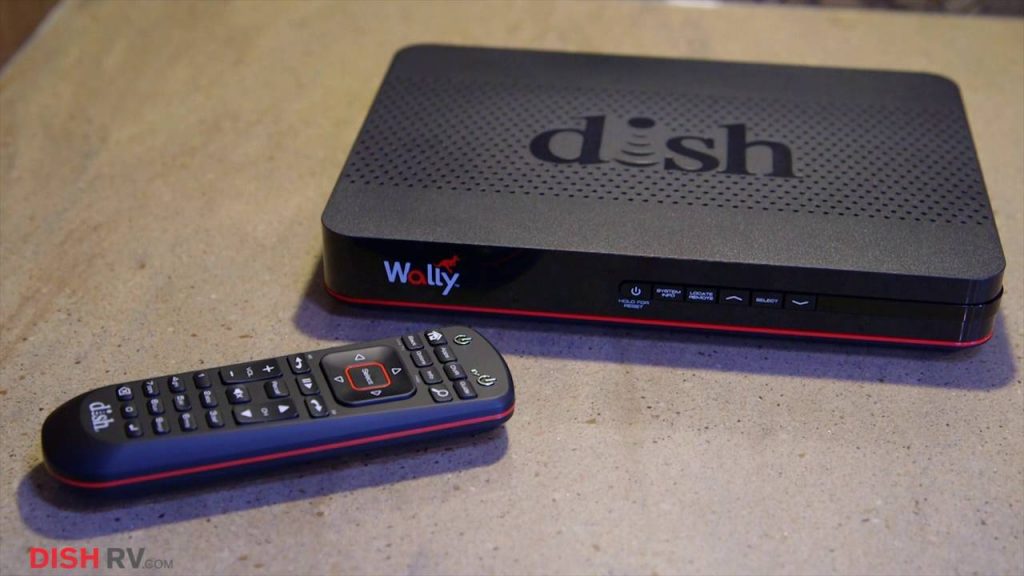
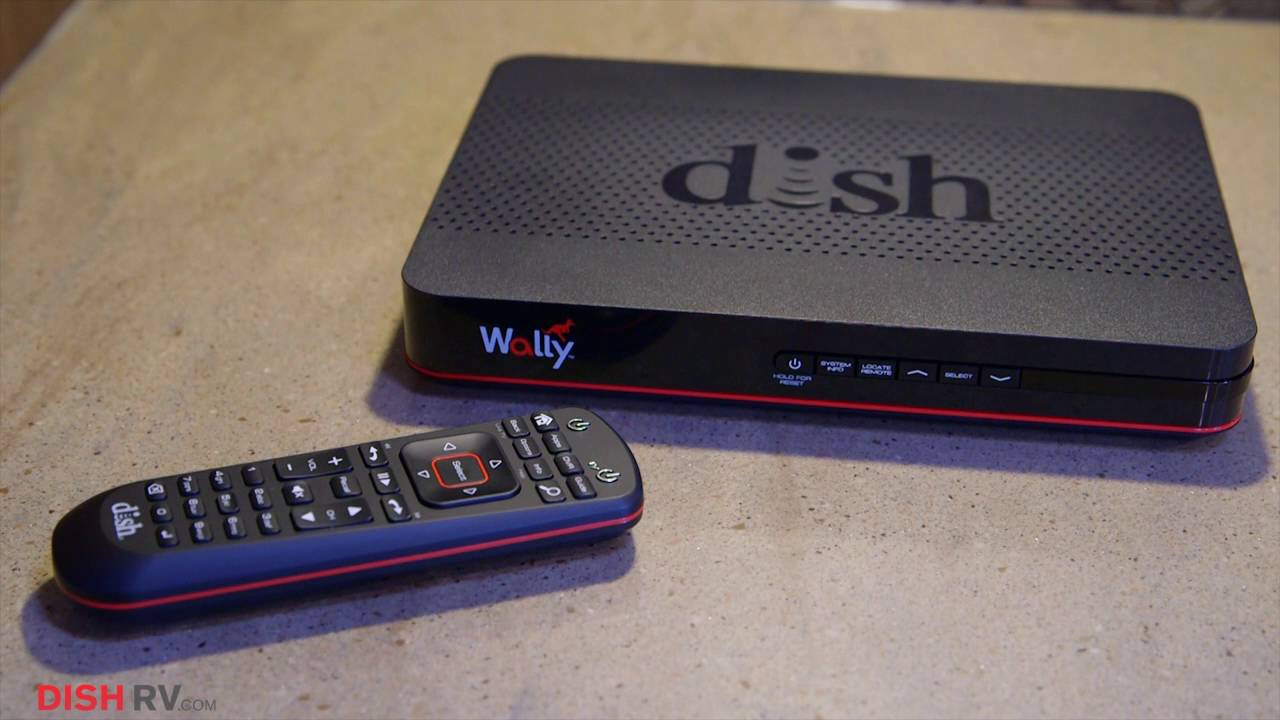
The answer to your question, “Can I connect my Dish receiver to the Internet?” is a big YES. There are, in fact, two ways to connect your Dish receiver to the internet. While the wired option strikes the mind instantaneously, we will try the wireless option here.
After connecting the Dish receiver to Wi-Fi, you can enjoy several perks and benefits, including accessing DISH anywhere, watching movies & TV shows, etc. But first, let’s learn how to connect the Dish receiver to your Wi-Fi.

Step-by-Step Guide to Connect Dish Receiver to Your Home Wi-Fi [Updated]
Below are the steps to connect your Dish receiver to your home wireless network. To accomplish this task, we will choose the Dish Hopper as our primary receiver. Let’s get started –
- Make sure your receiver is connected to the TV and has power.
- Press the Menu button on the remote.
- You will have a few options or icons on the screen.
- Select Settings from the menu.
- Select Network from the settings menu.
- Now, choose the Wireless Setup option.
- Next, you will have three options – Wi-Fi Setup Wizard, WPS Setup, and Enter Network Name.
- Choose Wi-Fi Setup Wizard to get a list of available networks.
- Follow the on-screen prompts to choose your network.
- After selecting your Wi-Fi network, enter the password when prompted.
- Wait for the receiver to connect to the Wi-Fi network.
Once the connection is established, you should be able to access the internet on your Dish receiver.
Note: Some Dish Receivers may have different menu options and methods to connect to the Wi-Fi network. You can check the Dish Receiver’s manual or contact Dish Network Support for further assistance.
How to Connect Dish Receiver to the Internet via an Ethernet Cable
You can use the Ethernet cable if you can’t access your Wi-Fi. This is another way to connect your Dish receiver to the internet and enjoy the benefits.
To connect a Dish receiver to the internet using an Ethernet cable, you will need to follow these steps:
- Connect or plug one end of the Ethernet cable to a free internet port on the back of your router or modem.
- Then, plug the other end of the cable into the Dish receiver. Ensure it plugs directly into the Ethernet port.
- Keep an eye on the connection lights. As long as both ends of the cable are securely connected, and your router or modem is on, you will continue to access the internet on your receiver.
How Can I Connect Joey to Wi-Fi?
Unlike the Dish Hopper (a primary receiver), the Joey is a secondary TV receiver that connects to the primary receiver (for example, Hopper DVR) so you can access your DVR recordings and the same guide in any room in your home.
As you try to connect Joey to your home Wi-Fi, you will find it already connected to the Network – given that the primary receiver is connected to the Wi-Fi. If you find the Joey receiver not connected to the internet, the Bridging feature may be turned off or disabled.
Here is how you can enable the bridging feature and connect your Joey receiver to Wi-Fi.
- Press the Menu button on the remote to access the main screen.
- Select the Settings option and choose internet.
- Instead of Basic, choose the ‘Advanced’ option.
- Selecting the Advanced option will bring you to the Advanced Settings menu.
- Select Bridging and toggle it on.
- Press the OK button to turn on the feature.
Your Joey receiver is now connected to your home Wi-Fi.
Benefits of Connecting Dish Receiver to Internet
There are several benefits to connecting a Dish receiver to the internet:
- On-demand content: With an internet connection, you can access a wide variety of on-demand content, including movies, TV shows, and live events.
- Online streaming: Many Dish receivers come with built-in streaming apps, such as Netflix and Hulu, that allow you to watch your favorite shows and movies without needing additional devices.
- Interactive features: Some Dish receivers come with interactive features, such as weather and news updates, that are only available when connected to the internet.
- Automatic software updates: Connecting your Dish Network receiver to the internet allows for automatic software updates, ensuring that you always have the latest features and bug fixes.
- Remote control: With an internet connection, you can control your Dish Receiver from a mobile device through the Dish Anywhere app.
- Voice Control: Some Dish Network receivers are compatible with voice assistants like Amazon Alexa and Google Home, which allows you to control your Dish Receiver with voice commands through the internet connection.
- Parental controls: Connecting to the internet allows you to set parental controls on your Dish receiver to ensure that your children only watch age-appropriate content.
Overall, connecting your Dish Network receiver to the internet can significantly enhance your viewing experience by providing you with more content options, interactive features, and remote control capabilities.

