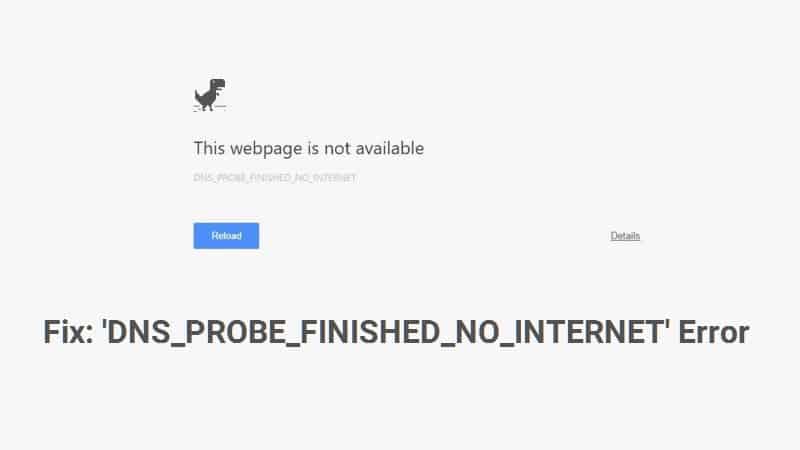
Haven’t you encountered this while browsing the Internet – “DNS_PROBE_FINISHED_NO_INTERNET”? If you say NO, you are surely lying or maybe, you haven’t paid much attention because you are not doing something worthwhile. The next time you access the Internet while trying to send across an email to a potential client and run into the “DNS probe finished no internet” issue, here are a handful of must-try methods that you should give it a try.
Complete Guide to Fix the DNS Probe Finished No Internet Issue?
The above error often surfaces on the screen while browsing the Internet. You may try out the following fixes to get rid of the issue.
Consider these 5 incredible solutions to get rid of the DNS probe finished no Internet issue.
- Command Prompt: Try fixing this Internet error with the command prompt.
- To open the Command Prompt program, you can simply press Windows + R. Type in “exe” and press the Enter key on your keyboard.
- This will open the command prompt. Now, you can type in the command prompt – “netsh winsock reset”.
- Press the Enter key and restart your Windows PC.
- Your web browser should be working now.
If the above command, i.e. netsh winsock reset didn’t work, you may like to try these commands – ipconfig /release, ipconfig /renew, netsh int ip set dns, and ipconfig /flushdns. After performing these commands, you need to exit the program and restart or reboot your system. Remember, you will only restart if it happens with one web browser. Skip the method if you can access the Internet using other browsers.
- Change DNS Address to Open DNS: Another important solution is to change the DNS address to open DNS. This particular fix has resolved the DNS probe finished no Internet for many people.
- The fix starts with right-clicking on the network icon. You can see it right on the Windows taskbar.
- Click on the option that says “Network and Sharing Center”.
- Look for the option that says “Local Area Connection” and click on the same.
- Choose “Properties” from the new window and select “Internet Protocol Version 4”.
- Again, click on “Properties”.
- Select “Use the following DNS server addresses” in the new window.
- Type “67.222.222” in the preferred DNS server box type.
- You may enter 67.220.220 in the alternate DNS server box type.
- Check the box “Validate settings upon exit”.
- Click “OK”.
By the time you are done with these steps, the DNS Server addresses would have changed to open DNS.
- Browser Workout (Clear Cache and Reinstall): From clearing cache to reinstalling the browser, you will learn all the steps to fix the DNS probe finished no Internet
- How to Clear Cache in Google Chrome: Clearing the cache files in Chrome involves simple steps.
- Open the browser and from the top-right, click the “More” button.
- Click “More tools” > “Clear browsing data”.
- You can choose a time range if you want to customize it. Or, you can simply delete everything by selecting “All time”.
- Check the boxes “Cookies and other site data” and “Cached images and files”.
- Click “Clear data”.
- How to Clear Cache in Mozilla Firefox: Check the steps below –
- Open Mozilla Firefox on your computer and click the “Menu bars” (in the upper right-hand corner of the browser).
- Next, click the “Privacy” tab.
- Select “Clear your recent history”.
- To delete everything, select “Everything” or choose a time frame.
- Before clicking, make sure you are not deleting anything else other than what you want (for instance, cookies).
- Hit the “Clear now” button.
- Reboot Your Router: The next solution that you must try if the above steps didn’t prove fruitful is rebooting your router. You can reboot it from the router settings. Access the same with the URLs (refer to the following URLs) –
- Linksys – http://192.168.1.1
- TP-link – http://192.168.0.1
- 3Com – http://192.168.1.1
- Micromax – http://192.168.10.1
- Belkin – http://192.168.2.1
- D-Link – http://192.168.0.1
- Netgear – http://192.168.0.1.
The default credentials (username and password) are ADMIN. After logging in, access “System Tools” and then “Reboot”. You may want to unplug it from the power source and then plug it again after a few minutes. This should get rid of the issue.
- Firewall and Internet Security Settings: Is there any Internet security software blocking a particular website? Should you check your firewall if that is causing the issue? Well, chances are quite high. Check your Internet security settings!
Did any of these troubleshoot your Internet issues?

